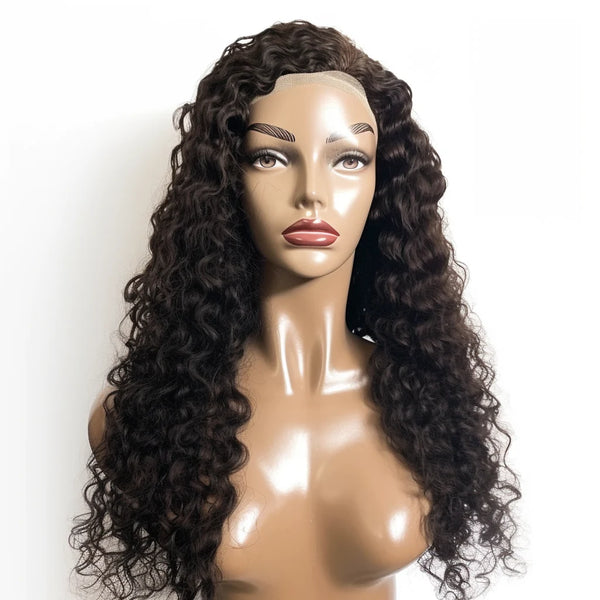
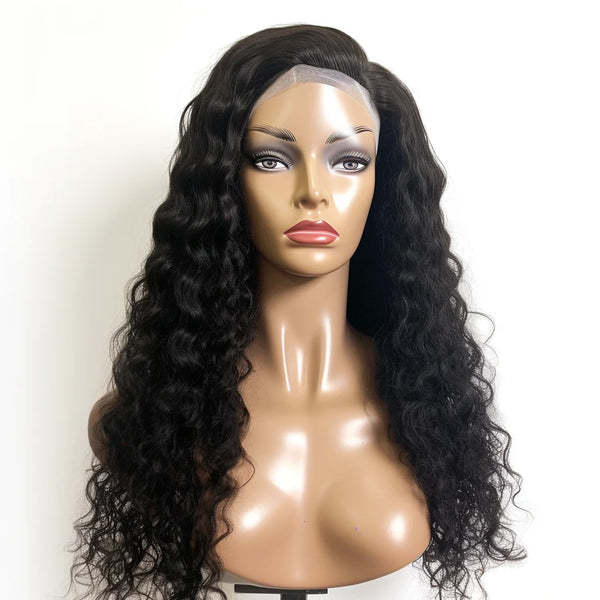
How to Install a Glueless Wig: A Quick Guide
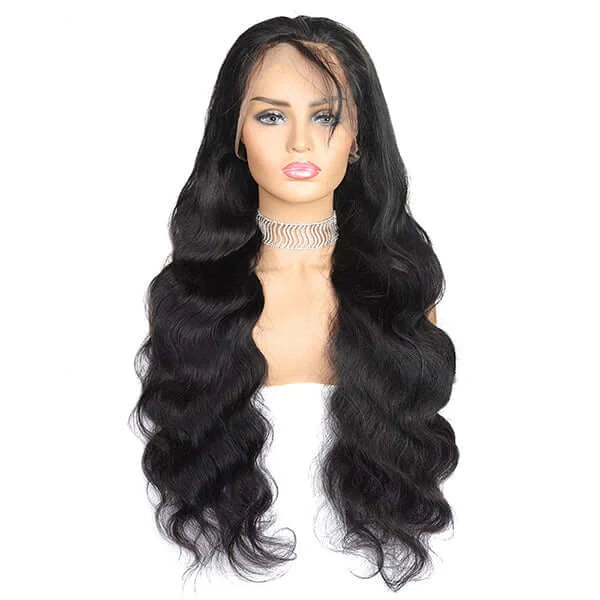
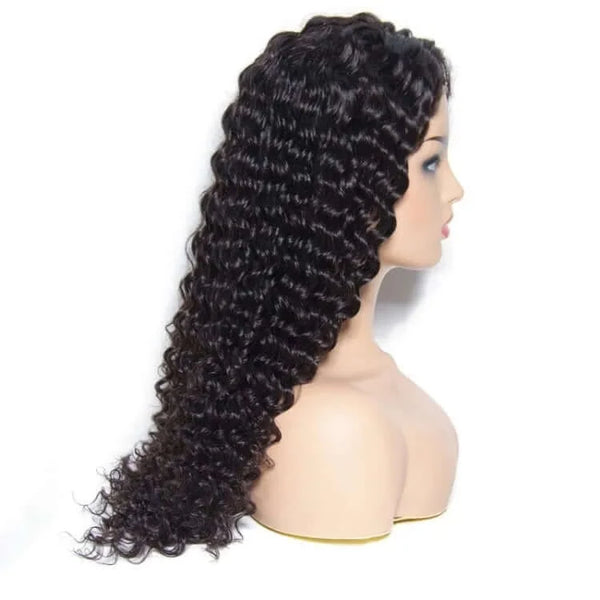
Glueless wigs are a fantastic option for those who want a natural, secure look without the need for adhesive products. Ideal for beginners and anyone looking for a quick, convenient installation, glueless wigs stay in place with adjustable straps and combs. Here’s a simple, step-by-step guide to installing your glueless wig and making it look seamless.
Step 1: Prepare Your Hair
Start by prepping your natural hair to create a smooth base. For the best results:
- Short Hair: Brush it back and secure it with a wig cap.
- Medium to Long Hair: Braid your hair in cornrows or a low, flat braid, and secure it with a wig cap.
Using a wig cap is highly recommended as it creates a barrier between your natural hair and the wig, helping the wig sit securely while protecting your hair.
Step 2: Adjust the Straps
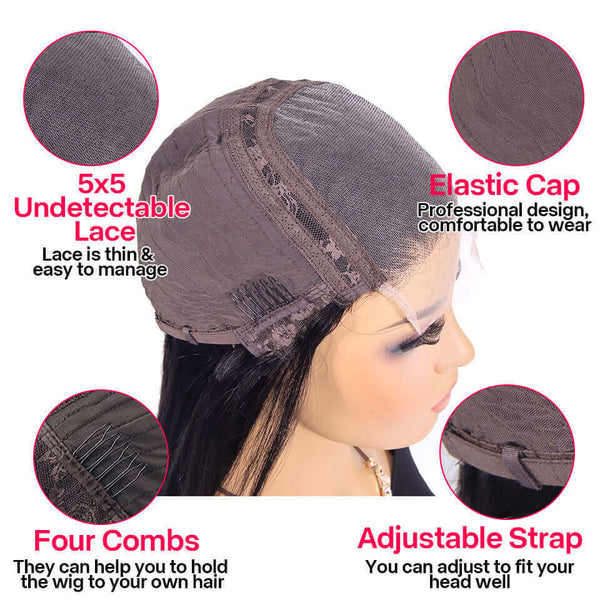
Most glueless wigs come with adjustable straps at the back of the cap. Adjust these straps to ensure the wig fits snugly without feeling tight. The goal is a secure fit that won’t slip, even without glue or tape.
- Tip: Start with a looser fit and tighten as needed, ensuring comfort and security. Adjusting both straps equally on each side will help center the wig on your head.
Step 3: Secure the Wig Combs
Inside your glueless wig, you’ll find combs or clips positioned at the sides, back, and sometimes even the front. These combs are crucial for securing the wig to your natural hair.
- Place the front comb in your wig just above your natural hairline.
- Slide the side combs into place, securing them around your head for a comfortable fit.
- Adjust the back comb to ensure the wig sits flat against the nape of your neck.
If you find the combs uncomfortable or difficult to secure, consider using small hairpins to anchor the wig in place without compromising on comfort.
Step 4: Position the Wig Correctly
Once your wig is secured with the combs, adjust it to sit naturally on your head. The wig should align with your natural hairline for the most realistic look.
- Tip: Gently tug at the front and sides of the wig to align it with your natural hairline. Use a mirror to check for symmetry and make minor adjustments as needed.
Step 5: Style the Hairline for a Seamless Look
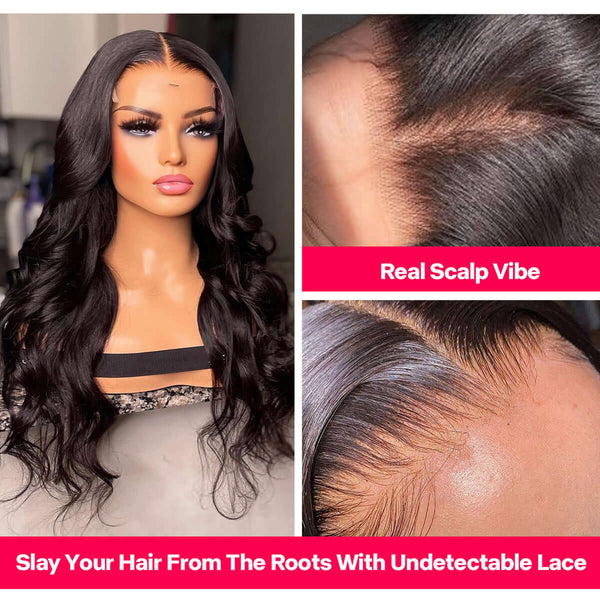
For a truly natural appearance, spend a few extra minutes styling the hairline. Here are some tricks to make it blend perfectly:
- Customize the Hairline: Pluck a few strands along the hairline if the wig looks too dense.
- Lay Down Baby Hairs: If your wig has baby hairs, gently style them along the hairline to create a soft, natural edge.
- Use a Foundation Brush: Lightly dust some foundation or powder that matches your skin tone along the lace edge to blend it seamlessly with your scalp.
Step 6: Final Touches
Once your glueless wig is installed and adjusted, take a few moments to style the hair to your liking.
- Heat Styling: If your wig is human hair, you can straighten or curl it to match your desired look.
- Finishing Spray: A light spritz of hairspray can help hold your style and keep flyaways in check.
With these simple steps, you can install your glueless wig quickly and achieve a natural look that’s secure without adhesives. Glueless wigs are perfect for anyone who values convenience and style in one package—ideal for both beginners and seasoned wig wearers alike.


